Stripe is an online service that manages the task of storing clients' credit cards and billing them. Making a credit card service compliant with PCI security standards is tough, and Stripe handles that for you. It provides a nifty npm package that allows you to handle the UI, while Stripe manages the backend.

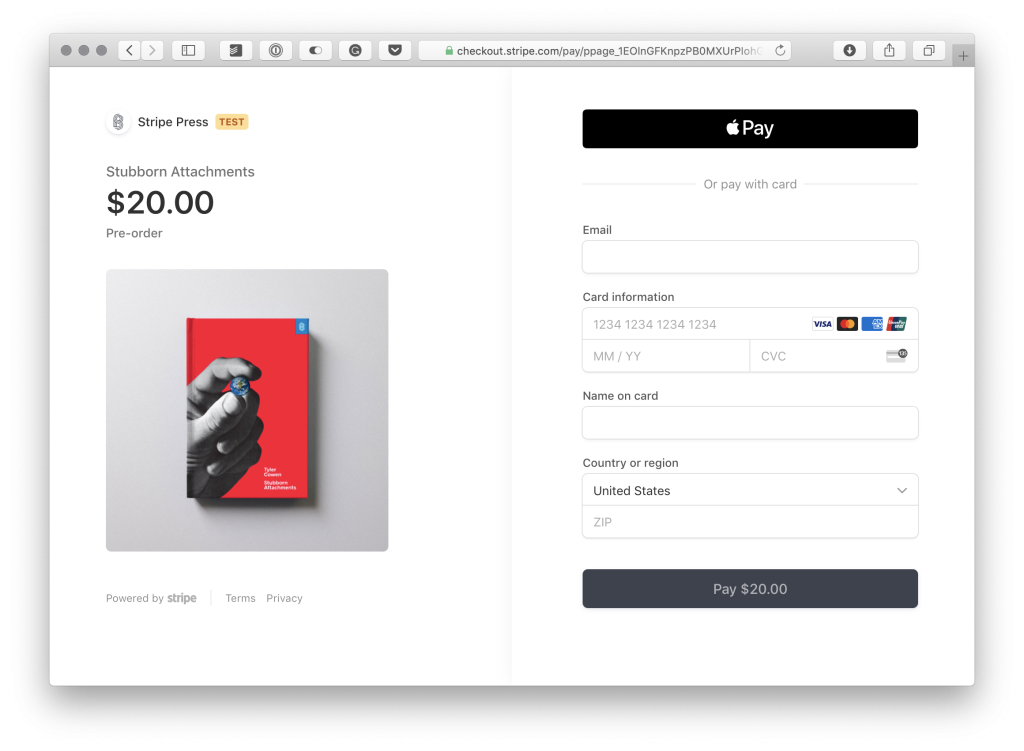
The Stripe API provides two ways of handling online credit card payments: Elements and Checkout. In short, Elements lets you embed the credit card form in your webpage while Checkout takes you to an external Stripe page.


For my implementation, I chose to go with Elements as it provides less friction to the client. The first thing to do is to create a Stripe.com account. As is to be expected with a financial service, there is a lot of business information to fill in, but you can choose to skip. This still lets you test Stripe features, but to actually begin accepting payments, you will have to fill in those details.
Once you're in the dashboard, you'll want to head to "Developers" > API Keys. Copy each value and put it in your Node Js .env.local environment file, like so:
After that you'll want to install the stripe, @stripe/react-stripe-js and @stripe/stripe-js NPM packages:
The next step is to provide an API endpoint that sends the credit card information to Stripe. The stripe library provides a paymentIntent that handles the information and authentication. In /pages/api/payment_intents.js, I put the following:
The formatAmountForStripe converts the amount to be debited to a format that can be read by Stripe. Don't forget to define the currency, minimum and maximum amount in /lib/constants.js:
Now that the API endpoint exists, you can build a checkout-form component:
It's a lot of code, but I'll walk you through the basics:
- The
CARD_OPTIONSvariable is populated with a Stripe custom styles object that is passed onto the form elements. - The
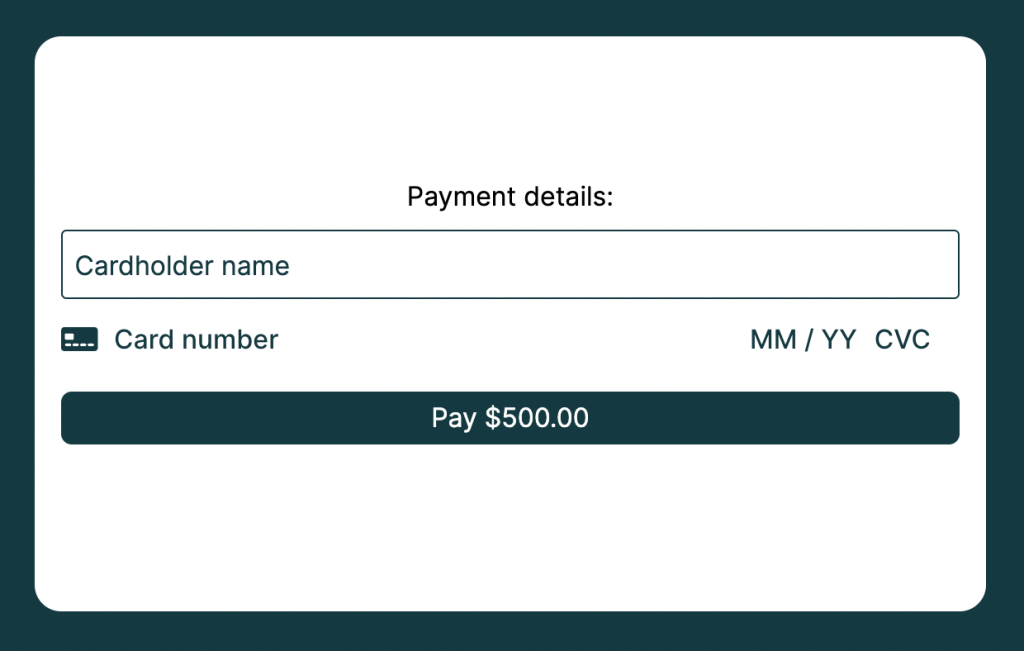
CheckoutFormcomponent stores the states of the different input fields, andPaymentStatusspits out a user-friendly message depending on the status code given by Stripe. - Last are the elements: there's a title, a Cardholder name input and the
CardElementcomponent from Stripe. It's a bit of a black box but it does the trick! Last is a submit button that displays the amount.
To handle a few of the nasty bits, I wrote a few helper functions in /lib/stripe.js.
Phew! The hardest is over! Now you can easily display a payment form on a page:
All done!


